How to Write Your First Travel Blog Post (Template)
On this page
Right, let’s get one thing out of the way first. Your first travel blog post should be a specific, useful article about one place or one problem you know first-hand, written for someone planning the exact same trip. Not “Welcome to my blog.” Not a diary entry. Pick a narrow topic, grab the template below, write for about 90 minutes, edit once, and hit Publish. The first post is a rep, not a masterpiece. I’ve set up more than 200 blogs for clients, and the ones that got traffic were never the ones with the most polished first post… they were the ones whose owners actually published a first post, then a second. That’s it. That’s the secret.
Key takeaways
- Write about one narrow thing a real person types into Google (“3 days in Lisbon on a budget”), not a big introduction to yourself. That story lives on your About page.
- Aim for 1,200–2,000 words of proper specifics: prices, names, timings, what went wrong, what you’d do differently.
- Use the fill-in-the-blanks template below. Every section has a job; if one has nothing to say, bin it.
- Headline first, then outline, then write. There’s a headline formula table so you’re never staring at a blank title field.
- Run the pre-publish checklist (slug, Yoast title, meta description, alt text, 2 internal links, featured image) before you hit Publish. Five minutes, tops.
- Publish imperfect, then improve. Google rewards pages that get updated. It can’t reward a draft.
What should your first travel blog post actually be about?
Almost every beginner wants to open with “Why I started this blog.” I get the urge, honestly I do. Skip it. Nobody searches Google for a stranger’s reasons for starting a blog, and the two people who would read it (your mum and your best mate) already know. Put that story on your About page, where it belongs and where brands and readers will actually go looking for it.
Your first post needs to pass three tests:
- Someone searches for it. Type your idea into Google. If autocomplete finishes the sentence for you, people are searching for it. Simple as that.
- You’ve actually done it. You were there, you paid the price, you missed the bus. In 2026 Google’s helpful-content guidance and AI Overviews both favor pages that show real experience over summaries of other summaries. This is the ONE advantage a brand-new blog has over a big publisher, so use it.
- It’s narrow. “Thailand travel guide” is a fight with Lonely Planet. “How to get from Krabi airport to Railay Beach (and what it costs)” is a fight you can win.
Haven’t picked a niche yet? Don’t let that stop you… write about the last trip you took. The niche ideas post on this site will help you narrow things down later, and a good first post fits almost any niche anyway.
10 first-post ideas you can write this week
Swap the brackets for your own trip. Every one of these works for beginners because the structure is obvious and the reader’s question is clear. Pick one and go.
- The itinerary: “[Number] days in [city]: the exact itinerary I followed (with costs).”
- The transport how-to: “How to get from [airport] to [town]: bus, taxi and train compared.”
- The budget breakdown: “What [trip] really cost: every rupee/dollar/euro, itemized.”
- The honest review: “Is [famous attraction] worth it? What I’d tell a friend.”
- The mistakes post: “[Number] mistakes I made in [destination] so you don’t have to.”
- The packing list: “What to pack for [destination] in [season] (and what I never used).”
- The neighborhood guide: “Where to stay in [city]: [neighborhood A] vs [neighborhood B] vs [neighborhood C].”
- The food post: “[Number] things I ate in [place] and where to find each one.”
- The niche-specific angle: “[Destination] with a toddler / as a vegan / on crutches / with a dog: what actually works.”
- The hometown guide: “A local’s guide to [your own town]: what visitors miss.” You don’t even need to leave the house for this one; see how to run a travel blog when you’re not traveling.
Travel blog headline formulas that actually get clicked
Write the headline BEFORE the post. Sounds backwards, I know, but it forces you to decide what the post is actually for. A good travel blog headline has the place, the promise, and usually a number or a qualifier (“on a budget”, “with kids”, “in winter”). Keep it under about 60 characters so Google doesn’t chop it off… Yoast SEO shows you a preview bar as you type, so you’ll watch it happen in real time.
| Formula | Example | Best for |
|---|---|---|
| [Number] Days in [Place]: [Qualifier] Itinerary | 3 Days in Kochi: A First-Timer’s Itinerary | Itineraries |
| How to Get From [A] to [B] ([Options] Compared) | How to Get From Bangkok to Koh Tao (Bus, Train and Ferry Compared) | Transport |
| What [Trip] Really Costs: [Duration] Budget Breakdown | What Two Weeks in Vietnam Really Costs: A Full Budget Breakdown | Budget posts |
| Is [Attraction] Worth It? [Honest Qualifier] | Is the Blue Lagoon Worth It? An Honest Answer After Two Visits | Reviews |
| [Number] Mistakes to Avoid in [Place] | 9 Mistakes to Avoid on Your First Trip to Japan | Mistakes posts |
| Where to Stay in [City]: [Number] Best Areas | Where to Stay in Lisbon: 5 Best Neighborhoods for First Visits | Accommodation |
| [Place] in [Season]: What to Expect | Kerala in Monsoon Season: What to Expect (and Why I’d Go Again) | Seasonal |
| [Place] With [Audience]: [Promise] | Rome With a Toddler: A Stroller-Friendly Plan That Worked | Niche audiences |
| The Only [Thing] Guide You Need for [Place] | The Only Street Food Guide You Need for Penang | Food and lists |
| [Number] Things Nobody Tells You About [Place] | 11 Things Nobody Tells You About Visiting Iceland | Curiosity, Pinterest |
Write three or four headline variants and pick the one YOU would click. Don’t throw the others away: they become your Pinterest pin titles and your social captions. Pinterest still sends proper traffic to travel blogs in 2026, and it loves the “[Number] Things” and “Where to Stay” formats.
The fill-in-the-blanks travel blog post template
Copy this into a new post in the WordPress block editor. Replace everything in square brackets. Bin any section that doesn’t fit your topic; a transport how-to doesn’t need a “Where I stayed” bit. I built the template around how people actually read travel posts, and it’s not pretty: they skim the headings, hunt for numbers, and jump straight to the part that answers their question. Give them that and they’ll stay. Don’t, and they’re back on Google in five seconds.
The template
Title: [Number/How to/Is] [Place or Thing] [Promise or Qualifier]
Opening (2–4 sentences, no heading): [Answer the question in the title right away.] “[Place] is [verdict] if you [condition]. I spent [duration] there in [month, year] and paid about [total]. Here is exactly [what the post delivers], including [specific thing readers worry about].”
Quick facts box (a list or a table):
- When I went: [month and year]
- How long: [days]
- Total cost: [amount] for [number] people
- Getting there: [route, time, price]
- Best for: [type of traveler]
- Skip if: [type of traveler who won’t enjoy it]
H2: [The main how / what / where question]
[The core of the post. For an itinerary, one H3 per day. For a transport post, one H3 per option. For a review, one H3 per thing people care about: price, queues, time needed, photos.] Under each H3, write 100–250 words: what you did, what it cost, how long it took, one thing you’d change.
H2: What it costs
[A small table: item, price you paid, notes. Even five rows helps. State the month and year, since prices move.]
H2: Where I stayed / ate / booked
[Name the place, the price per night or per meal, and one honest sentence. If you have an affiliate link, disclose it here in plain words.]
H2: Mistakes I made (or: what I’d do differently)
[Two to five short paragraphs. This section is where your experience shows, and it is the part readers screenshot and share.]
H2: Is [Place/Thing] worth it? My honest verdict
[Three sentences. Yes/no/depends, for whom, and the one thing that tipped it.]
Closing: [One sentence pointing to a related post of yours, or, if you have none yet, a question inviting comments. Add your email sign-up form here once you have one.]
How to write a travel blog post in about 90 minutes
The template gives you the shape. This is the process I tell every client to follow, because “just sit down and write” is how people end up with a 4,000-word draft they never publish. Sound familiar?
Step 1: Headline and outline (10 minutes)
Pick a formula from the table, write the headline, then list five to eight H2 headings from the template. Under each one, jot three bullet points of stuff you remember: the price of the ferry, the cafe with the good coffee, the rain on day two. That’s your outline. Done. Don’t open WordPress yet; a plain text file or a Google Doc is faster and less fiddly.
Step 2: Brain dump (40 minutes)
Set a timer and write under each heading without stopping to fix anything. Anything. Picture one friend who’s about to take the same trip and talk to them. Use “you” and “I”. Can’t remember a price? Type [PRICE] and keep moving. Speed matters here, because a fast draft sounds like a person and a slow, careful draft sounds like a brochure.
Step 3: Edit once (20 minutes)
Read it top to bottom and do four things, no more: fill in every [PRICE]-style gap (dig out your bank statement or booking emails), cut about a fifth of the words (mostly adjectives and “very”), split any paragraph longer than four lines, and make sure the first paragraph answers the headline’s question. Then read the whole thing aloud once. Feels silly. Do it anyway. Where you stumble, your reader will too.
Step 4: Format in the WordPress block editor (15 minutes)
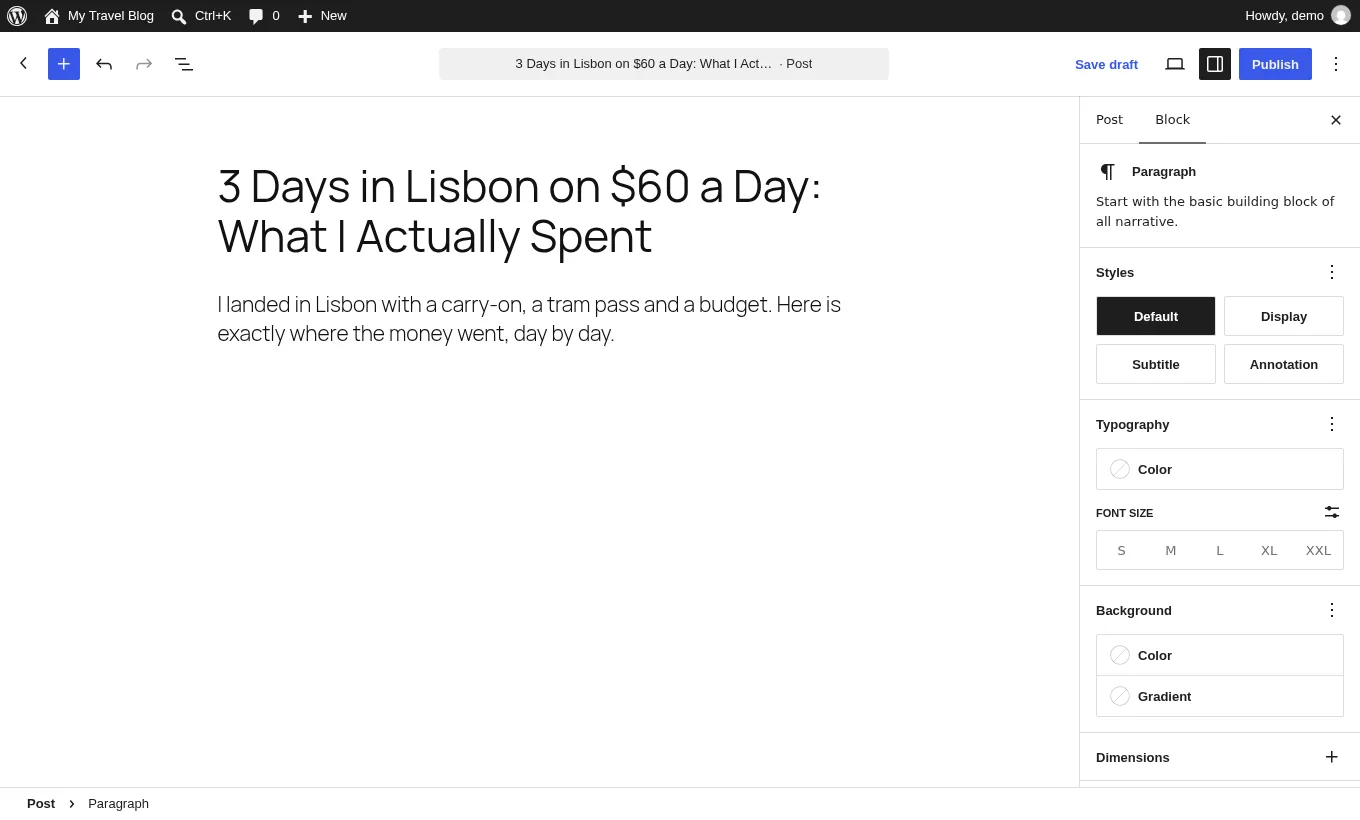
Now, and only now, paste into WordPress. Go to Posts → Add New Post. Paste your text; the block editor converts paragraphs and headings automatically if you used Markdown-style ## or Google Docs headings. Then drop in images, lists and a table wherever the template calls for them. Which blocks? Next section, I’ve got you.
Step 5: Pre-publish check (5 minutes)
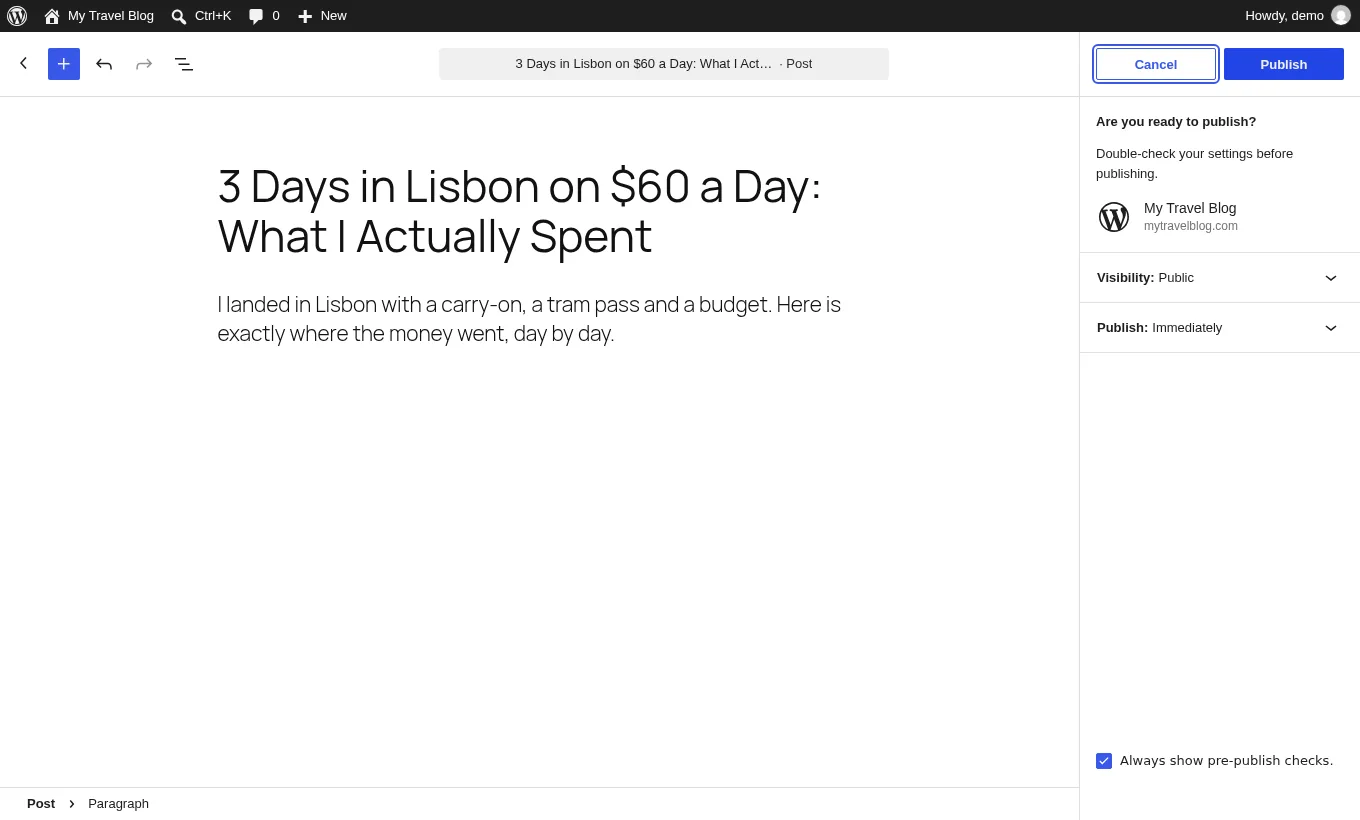
Run the checklist at the end of this post. Then click Publish. Not “Save draft”. Publish. You can do this.
Which WordPress blocks to use in a travel post
The block editor (Gutenberg) has been WordPress’s default editor for years now, and honestly it’s brilliant for travel posts once you know the six or seven blocks that matter. Press / on an empty line, type the block name, and it appears. That’s the whole trick.
| Block | Use it for | Tip |
|---|---|---|
| Heading (H2/H3) | Every section of the template | Never use H1; your theme uses it for the title. Keep headings as questions or specifics. |
| Paragraph | Body text | Two to four sentences each. Phone screens make long paragraphs look like walls. |
| Image | Your own photos | Resize to about 1600px wide, export as WebP, write alt text that describes the scene. See the photos and image speed guide. |
| List | Quick facts, packing lists, steps | Skimmers read lists first. Put your most useful facts in one. |
| Table | Costs, transport options, comparisons | Add a header row. Tables are also what AI Overviews and featured snippets tend to pull from. |
| Quote | A line from a local, a sign, a guide | Use sparingly; one per post at most. |
| Buttons | “Check prices” or “Read the next post” | One clear action per post beats five. |
| Details (accordion) | Long optional info, e.g., visa rules | Keeps the post scannable without deleting useful detail. |
Two formatting rules I’d tattoo on new bloggers if they let me. One: one idea per paragraph. Two: an image or a list or a table at least every 300 words, because a page of unbroken text on a phone gets closed in about three seconds. Not sure your theme handles tables and images well on mobile? The travel blog themes post on this site lists the ones that do.
Basic SEO for your first post (the 10-minute version)
You don’t need to become an SEO nerd to publish your first post. Promise. But five small settings are the difference between a page Google can rank and one it quietly ignores, and they take ten minutes. All of them live right in the post editor if you have Yoast SEO installed, which is on my essential plugins list for exactly this reason.
- Slug. In the right sidebar under Post → Link, edit the URL so it’s short and descriptive:
/3-days-in-kochi/not/my-amazing-trip-to-kochi-part-1/. Don’t put the year in the slug; you’ll want to update the post later without changing its address. - Focus keyphrase. In the Yoast box below the post, type the phrase people would search (“3 days in Kochi”). Yoast then checks it shows up in the title, first paragraph, a heading and the meta description. Green dots are nice; “mostly orange but the post is genuinely useful” is grand too.
- SEO title and meta description. Same Yoast box, click Google preview. Write a title under 60 characters and a description of 140–155 characters that promises what the post delivers. This is your ad in the search results, so write it like one.
- Alt text on every image. Click an image, look in the right sidebar for Alternative text, and describe what’s in the photo (“Chinese fishing nets at Fort Kochi at sunset”). Good for accessibility, good for Google Images, which sends travel blogs a surprising amount of traffic.
- Two internal links. Link to your About page and, once you have it, another post. Every post after this one should link back to at least one earlier post. That web of links is how Google finds and values your pages.
That’s the first-post version, and it’s plenty. When you’re ready to go deeper on keyword research, search intent and getting into Google’s index faster, read travel blog SEO for beginners. And set up analytics early so you can actually watch what happens: GA4 and Search Console setup for travel bloggers walks you through it.
Common first travel blog post mistakes (and what I’d do differently)
I’ve read a LOT of first posts while migrating client sites. The same handful of problems turn up on nearly all of them, so let’s save you the trouble.
Writing a diary instead of a guide
“We woke up at 7, had breakfast, then walked to the old town” is a diary. “The old town is a 20-minute walk from the ferry terminal; go before 9am to beat the cruise crowds” is a guide. Same morning, completely different post. Keep your personality, absolutely, but organize the thing around the reader’s decisions, not your timeline.
No numbers
“It was pretty cheap” tells the reader nothing. Nothing! “The room was 1,800 rupees a night in February 2026, including breakfast” tells them everything and proves you were actually there. Prices, durations, distances and dates are the cheapest way to make a post feel first-hand. Always say when you paid, because prices move and readers forgive an out-of-date number far more than a vague one.
Going too broad
“My Ultimate Guide to Europe” as a first post is a promise nobody can keep in 1,500 words. The narrower the topic, the easier it is to be the best page on the internet for it… and that’s the whole game. You can always write the broad guide later and link to your ten narrow posts from it.
Uploading 6MB photos straight from the phone
This is the one that wrecks Core Web Vitals and makes your page load in eight seconds on dodgy hotel Wi-Fi. Resize to around 1600px on the long edge and export as WebP (or AVIF) before uploading. Most of the sites I’m asked to “make faster” just have a hundred enormous JPEGs sitting in them. That’s it. That’s the whole problem.
Waiting until it’s perfect
The single most common mistake isn’t a writing mistake at all. It’s the draft that sits there for three months. Your first post will be your worst post. That’s fine, and there’s no way around it. Google typically takes days to weeks to index and start ranking a new page, and the clock only starts when you publish. So publish, then come back in a month with fresh eyes and make it better; updated posts often climb. Done beats perfect, every single time.
How long should a first travel blog post be?
I get asked this every single week, so here’s the honest answer: long enough to answer the question completely, and not a word longer. In practice, useful travel posts tend to land somewhere between 1,200 and 2,000 words, because that’s roughly what it takes to cover an itinerary or a transport route with real detail. A “how to get from A to B” post might be 900 words and perfect. A 7-day itinerary might genuinely need 3,000.
Don’t pad to hit a number. Ever. Padding is exactly what Google’s helpful-content signals are built to catch, and readers can smell it a mile off. If you run out of things to say at 800 words, either your topic is narrow enough that 800 is right, or you need to go back through your photos and booking emails and dig out more specifics. Usually it’s the second one.
Pre-publish checklist for your first travel blog post
Print this or stick it in a note on your phone. Go down it before every post, not just the first one. Five minutes, and it saves you from the “why is my post not in Google?” email three weeks later.
- Headline contains the place and the promise, and is under about 60 characters.
- First paragraph answers the headline’s question.
- Quick facts list or table near the top (when, how long, cost, best for).
- Every H2 is specific; no H1 in the body.
- At least three real numbers (prices, times, distances) with the month and year.
- A “mistakes” or “what I’d do differently” section.
- Images resized to about 1600px, WebP, each with descriptive alt text.
- Featured image set (right sidebar → Featured image). Yoast uses it for the social preview too.
- Slug is short and has no year in it.
- Yoast focus keyphrase, SEO title and meta description filled in.
- Category chosen (one), a few tags at most.
- Two internal links (About page plus one post or the homepage).
- Affiliate links, if any, disclosed in plain words near the first one.
- Read aloud once; fixed the bits where you stumbled.
- Previewed on a phone (click Preview → Mobile in the editor).
- Clicked Publish. Then shared it in ONE place: a group, a pin, a message to a friend planning that trip.
One last thing. The readers who find your first post six months from now won’t know it was your first. They’ll just see a specific, honest answer to the question they typed into Google. Write that, publish it, and go start the second one. The seven-step guide on the homepage has the rest of the map.
And if you’ve read this far and you’re still staring at a blank title field… email me. Seriously. Send me your topic idea or your messy first draft through the contact page and I’ll tell you what I’d change, for free. I got help from a stranger on a forum when I was starting out at 14, and this is me paying that back. Now stop reading and go write the thing. You’ve got this.
Frequently asked questions
What should my first travel blog post be about?
Pick one narrow thing you've actually done and that people actually type into Google: a short itinerary, a transport how-to, a budget breakdown or an honest review of one attraction. The 'why I started this blog' story? Lovely, but it belongs on your About page, not post number one.
How long should a first travel blog post be?
Long enough to answer the question properly, and not a word more. Most useful travel posts land between 1,200 and 2,000 words. A simple transport how-to can be 900 words and perfect; a week-long itinerary might genuinely need 3,000. Whatever you do, don't pad to hit a number.
Should I write an introduction post first?
No. Honestly, no. Nobody searches Google for a stranger's introduction. Put that on your About page and make your first post a specific, useful guide. You can link to the About page from every post anyway, so nothing's lost.
How do I structure a travel blog post?
Open with a two-to-four-sentence direct answer, add a quick facts list (when, how long, cost, best for), then H2 sections for the main content, a costs table, where you stayed, the mistakes you made, and an honest verdict. Finish with a link to a related post. That's the whole shape, and it works for almost any topic.
How many photos should a travel blog post have?
Enough to break up the text roughly every 300 words, which usually means five to twelve for a 1,500-word post. Resize each one to around 1600px wide, export as WebP, and write proper alt text for every single one. Don't upload 6MB phone photos straight in… that's the one that wrecks your page speed.
Do I need to do SEO on my first post?
Only the basics, and they take ten minutes: a short descriptive slug, a focus keyphrase in Yoast, an SEO title under about 60 characters, a 140–155 character meta description, alt text on your images and two internal links. That covers most of what matters early on. The deep SEO stuff can wait for post ten.
How long does it take for a new travel blog post to show up on Google?
Typically days to a few weeks to get indexed, and longer to actually rank. Submitting your Yoast sitemap in Search Console and using URL Inspection to request indexing gives Google a nudge. Ranking improves as you publish more related posts and link them together, so the best thing you can do is write the next one.
Some links in this guide are affiliate links. If you buy through them I earn a commission at no extra cost to you, which keeps the free help free. Full disclosure.
Keep going
Travel Blog About Page and Contact Page (Templates)
Two copy-paste templates for your travel blog About page and Contact page, what goes in each section, and the short list of things brands…
How to Run a Travel Blog Without Traveling (Honestly)
Most travel bloggers spend more time at home than on the road, honestly. Here's how to keep publishing without faking it, build a content…

Travel Blog Photography: Shooting, Stock, Sizing and Speed
You don't need a camera to take good travel blog photos, honestly. Here's what to shoot, where to grab free stock without a nasty…
Questions & answers
Entries tagged “Common question” are questions beginners ask me all the time; I’ve added them here with my answers. Everything else is from readers. Got one of your own? Ask at the bottom and I’ll reply.
Common question
My draft is already past 3,500 words and I’m only halfway through the trip. Do I keep going or split it into more than one post?
Aghosh Babu Author
Split it. A draft that long and still growing is nearly always three posts wearing one coat. Look at your headings and ask which ones answer a question somebody would type into Google on its own. The day-by-day plan is one post. “How to get from the airport to town” is another. “What the week cost” is a third. Cut them apart, give each its own headline from the formula table, and link them to each other. Publish the most finished one THIS week and the others over the next two. You’ve just done three weeks of work in one sitting, and you’ve started what SEO people call a cluster, which I explain in my travel blog SEO guide for beginners.
Common question
I hit Publish and then spotted a typo and a wrong price. If I go back and edit the post, does that mess things up with Google?
Aghosh Babu Author
Nope. Edit away. Open the post, fix it, click Update (WordPress calls it Save on newer versions). Done. Google likes pages that get corrected and improved, so you’re doing yourself a favor. The ONE thing you don’t touch after publishing is the slug, the bit of the URL after your domain. Change that and any link or pin pointing at the old address breaks. Everything else is fair game: title, photos, whole sections. Honestly, every blogger I’ve built a site for has fixed something within ten minutes of publishing their first post. It’s practically a tradition.
Common question
The template ends with a question inviting comments. Should I actually leave comments switched on? I’m worried about spam and rude people.
Aghosh Babu Author
Leave them on. A real question from a reader is gold on a new blog: it tells you what the post missed, and answering it makes the page more useful. You just need a gate. Go to Settings → Discussion and tick the option that holds every comment until you approve it manually. Nothing appears on your site without your say-so, so the spam and the odd rude one never see daylight. Add an anti-spam plugin to filter the junk before it even reaches your queue; which one I’d use is in my list of the only plugins a new travel blog needs. Then reply to every genuine comment. At this stage, each one is a reader worth keeping.
Common question
I wrote my draft in Google Docs like you said, but when I paste it into WordPress the photos don’t come across and some text looks odd. What’s the clean way to do it?
Aghosh Babu Author
Photos never paste across reliably, so don’t even try. Here’s the clean routine. Paste the text only. If the fonts or spacing look strange, undo it and paste as plain text instead (Ctrl+Shift+V, or Cmd+Shift+V on a Mac), then turn your section titles back into Heading blocks, which takes a minute. Next, add each photo yourself with an Image block, after you’ve resized it, and fill in the alt text as you go. Tables are the other thing that arrives mangled; rebuild those with the Table block, it’s quicker than fixing a broken one. All in, about 15 minutes, which is exactly what that formatting step is for. Sizing photos properly is covered in my travel blog photos and image speed guide.